

This months guest article comes courtesy of Pfkninenines. We thank him for this great submission. If you want to send your own guest article in you can find out how the process works here.
Supposing you’ve lived without a new (2 year old or less) computer for a while, you’ll likely benefit the most from the following. The benefits of upgrading older hardware are felt across the board; CPU, RAM, GPU, and often HDD/SSD performance increases will be the most noticeable of the newer hardware. While building or upgrading a PC requires some forethought and planning, it is by no means overly difficult.
The first step to any computer maintenance should be determining if an upgrade or full blown new build is required. If the majority of your hardware, namely the motherboard, is two years old or less, you may be most easily suited with upgrading current hardware. If, however, you are on the two year or greater point, it may be most efficient to start fresh to achieve the greatest performance to price improvement. This can vary greatly based on the choice of Intel vs. AMD, though generally after two years technology advanced on both sides to the point that a full rebuild is best. Intel tends to switch CPU sockets more often, usually leading to more technology advancements in a similar time period as AMD. That said, AMD’s slower advancement of CPU sockets means that it is possible to get a much newer CPU into a relatively older board, allowing for some cost savings and increase in performance without drastic upgrades all around.
As of 2011, you could easily determine if your motherboard/processor were worth upgrading or not by determining which series of processors you’re using. If on Intel, anything from Socket 775 or before would not likely be worth putting much money into. On the AMD side, AM2+ and lower would be the logical cutoff.
The current options on AMD and Intel as of 2011 allow for upgradability for the next few processor generations. Intel’s socket 1155 and AMD’s AM3+ will both hold the top of the line from their respected platform (Sandy Bridge and AM3, respectively; For AMD, a Phenom II x4 or x6 would be the likely choice, while an i3 or i5 based processor would be ideal choices for Intel), in addition to the next generation of processors. This ensures a decent bit of upgradability over next few years, allowing for a new processor in addition to a die shrink to provide a nice performance boost without incredible upgrades all around.
If you intend on building a desktop to last through several upgrades before being replaced entirely, it is wise to choose a motherboard that will stand up for several years of decent use. Locking in at a specific feature set at the motherboard level can impact further upgrades in the future, so spending $100 or more may be the most justified at this stage. For Intel, this would mean a Z68 based board, while on AMD would be an AM3+ board with the 900+ series chipset. On either platform, the number of RAM slots and max frequencies, PCIe x16 slots, and various other ports need to be decided at the motherboard level.
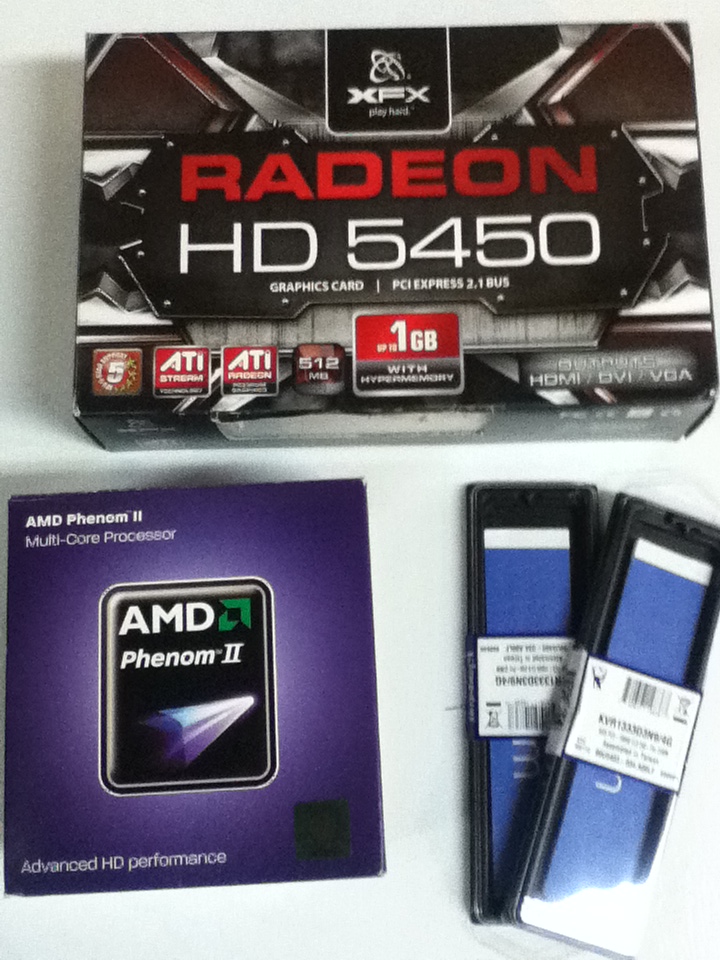
For this build, the client desired enough power to run any ‘normal’ application (excluding gaming and video / audio editing), while still maintaining a decent price point. A Phenom II X4 940 @ 3.0Ghz was chosen to provide more than enough capability. As for a motherboard, a simple AM3 board was chosen, allowing for many USB 2.0 ports, and one PCIe x16 slot for a video card. Since the price was right, 8GB of DDR3 1066 was purchased to provide excellent performance with extra headroom over a 4GB system.
On each platform, a minimum of 4GB RAM would be most useful. Starting at 8GB will leave nearly any normal user plenty of leeway for intensive and standard applications, while costing anywhere between $20 and $50. Be sure to purchase RAM in groups of two to maintain dual-channel capabilities to increase performance. The frequency of your RAM needs to match with your motherboard, else you may have issues. It is possible to overclock or underclock RAM to provide the correct level of performance, but it is often easiest to purchase something compatible with the motherboard.
At this point in the build, a hard drive (HDD) and/or solid state drive (SSD), optical drive, and case can be chosen. The case should be large enough to accommodate any expansion cards (namely graphics cards), drives, and CPU coolers necessary, in addition to the motherboard. For the majority of builders, a mid-tower ATX will often be large enough, while a full sized ATX tower will provide extra space for graphics cards, storage drives, and cooling solutions. Stylish cases don’t necessarily mean better performance, so choose performance and cooling over bright lights. The HDD/SSD will be based on your performance and storage requirements, and can be used in combination if desired. An optical drive may not be necessary depending on what the computer will be doing, and how software is acquired.
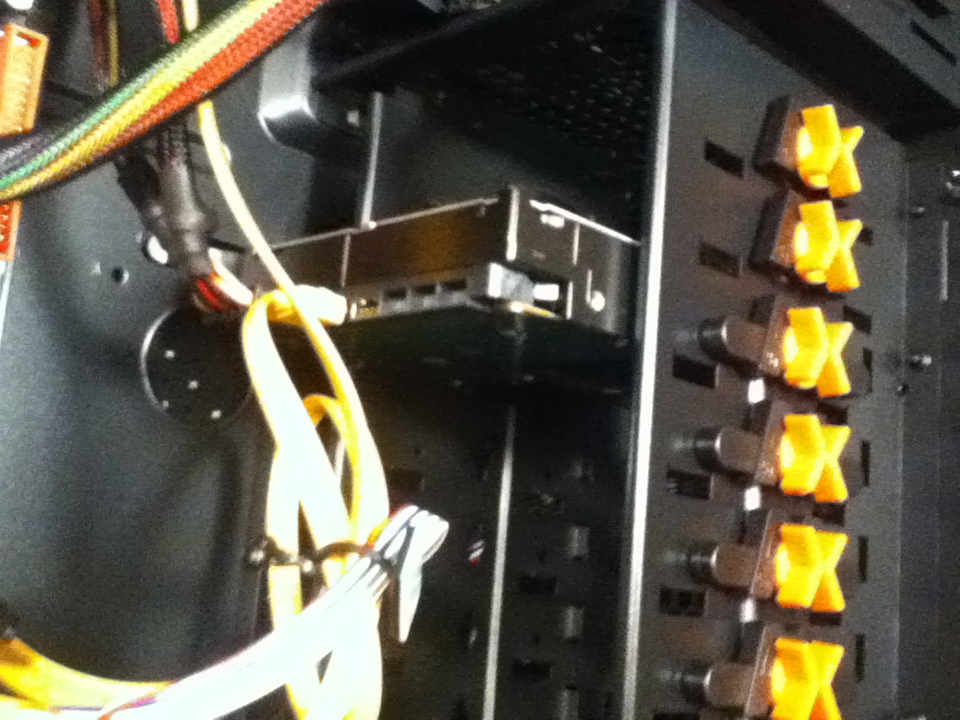
This case was chosen to provide simple storage features, at a decent price. It has a tool-less install of everything except expansion cards, so all that is needed for motherboard installation is a small Phillips screwdriver and small hex head wrench.
A GPU may or may not be necessary if gaming or multi-monitor support is not required, though depending on what is onboard the motherboard, a GPU may be required in all instances (for example, no integrated graphics are on the motherboard chosen). The best GPU for the money often changes on a monthly basis, so checking a site such as Tom’s Hardware would be most beneficial.
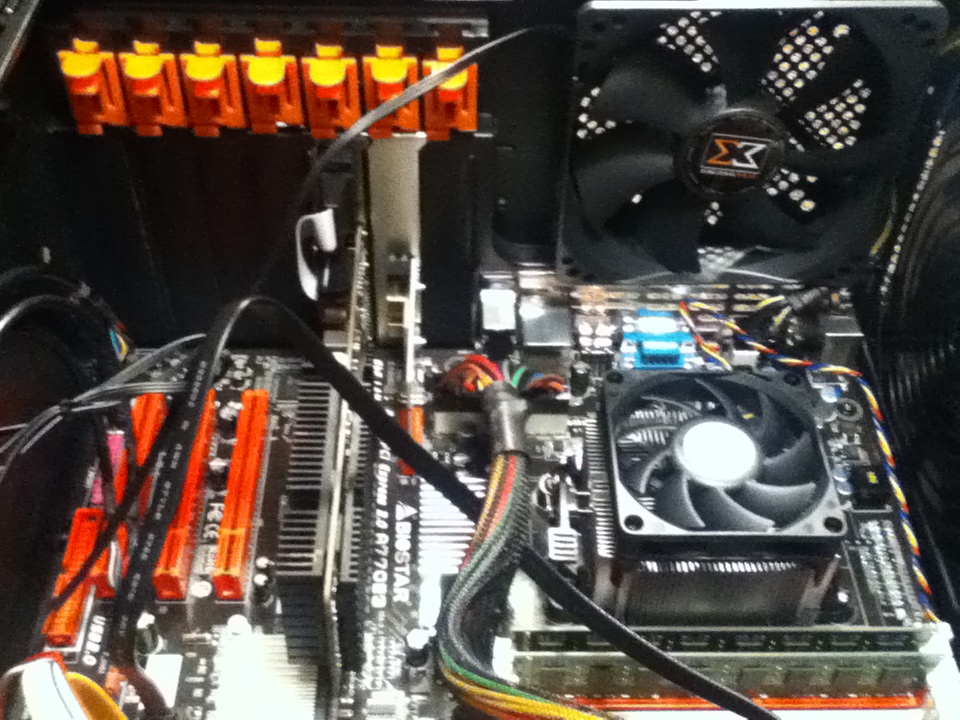
Here (leftmost used slot — look for the orange tabs) is the fan-less, lower-performance GPU chosen, allowing for video decoding capabilities, but namely chosen for the multi-monitor support.
Lastly, a PSU (power supply) must be chosen based on previously chosen parts. A PSU calculator is most easily used to determine the required wattage needed to power the system. While choosing a PSU, keep in mind any connections needed for the graphics card, and motherboard. Choose a PSU that will meet your needs for output, in addition to being 80 Plus certified and ideally also being ranked Bronze or higher.

This PSU is lower-end, though provides plenty of power and capabilities for a lower-end system.
Once all of these parts have been acquired, assembly begins. Most parts will be fairly easy to plug in and get working; at least once the motherboard is installed in the case. If your motherboard is ATX sized, you will have 8-9 screws and spacers to position the motherboard in the case, while a micro-ATX sized motherboard will typically be around 6-7. Be sure to attach the risers tightly, allowing for no grounding issues with the motherboard. Once the motherboard is installed, most all parts will be plugged in. Verify cord installation with the motherboard manual, in addition to the PSU and case.

Here we can see all parts installed, and cables somewhat managed. Be sure to keep cables away from fans and heatsinks, in order to provide for efficient heat distribution and ventilation.
Once all parts have been installed, your operating system of choice can too be installed. It would be wise to run a variety of stability tests to ensure the ability of your system. Memtest is good for verifying memory; Prime95 for CPU stress testing (heat and stability); and Furmark for GPU stress testing.
With any luck, you’ll have built something considerably more powerful than anything you’ve had use of in the past, likely for a lower price to boot! If you found this guide useful, look through my old submissions. And for something more current, look to Shane’s articles.
How to Jailbreak and get the Most Out of Your Older iOS Device
posted by Pfkninenines on 31st August 2010, at 10:01pm | No CommentsKeep Your Laptop Cool While Keeping Costs Low Pt 2
posted by Pfkninenines on 7th July 2010, at 9:14pm | No CommentsKeep Your Laptop Cool While Keeping Costs Low Pt 1
posted by Pfkninenines on 30th June 2010, at 1:10am | 1 CommentNext Page »
Tags
 Search