Encryption and Steganography – Ways to Obscure data
posted by Pfkninenines on 11th August 2009, at 11:21pm | 1 CommentThough there hasn’t been too much on the forums asking about encrypting files, several people have expressed interest in protecting files from others’ eyes. Through encryption, all of a user’s data, or just the data they wish, can be hidden as seemingly random data to anyone without the correct password. The easiest way to encrypt and transfer files is through a program known as TrueCrypt.
TrueCrypt offers several means for accessing it’s program, be it through Mac, Linux, or Windows, or through a traveling USB key. The wonderful open sourceness that is TrueCrypt allows users to protect any data they wish through easy to understand methods, using industry grade encryption. A user can simply install the program, or choose to use a portable version; either way, the default downloadable file can be found at TrueCrypt’s website.
Once the program is installed, users have several options. If they have a single-boot system running one operating system, they can opt for a full drive encryption that must be authenticated during boot. This option allows for a user to securely lock anyone out of their computer’s hard drive, even if physical access is available. Anyone looking at the drive will either see random data, or find that the drive is not formatted at all. This same concept can be applied to removable hard drives, thumbdrives, or partitions. None of these require pre-boot authentication, merely a password through the program once the operating system is launched.
Even easier, the ability to create virtual disks exists, allowing a user to store the encrypted data anywhere for easy transport.
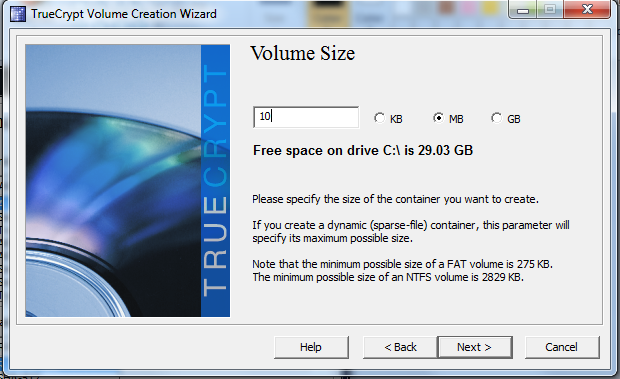
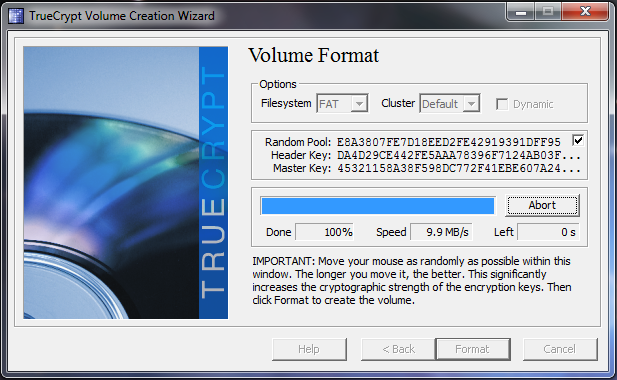
Through the next few pictures, I’ll walk through the steps for setting up a simple virtual encrypted disk.
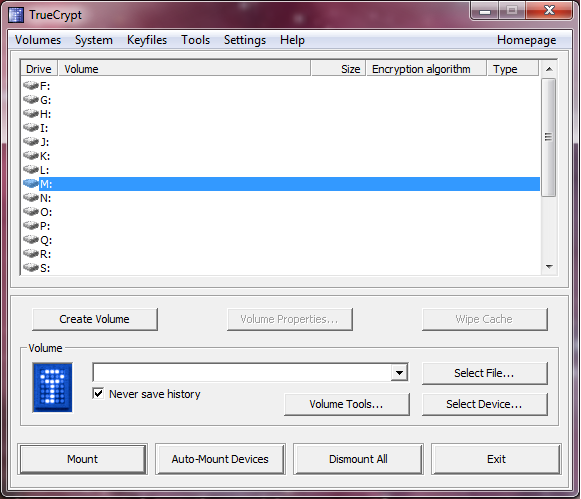
This is the main screen of the Windows TrueCrypt program. It will look similar in other OSes, though all of the functions are the same.
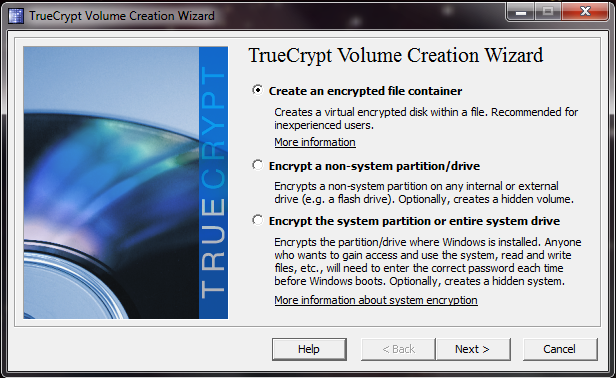
We’ll be using a simple encrypted file container, though if you wish you can encrypt full drives or system partitions in the same manner. If you choose to encrypt your system partition, you will need to burn the .iso it creates for you. If anything goes wrong, it will allow you to revert to your pre-encrypted state.
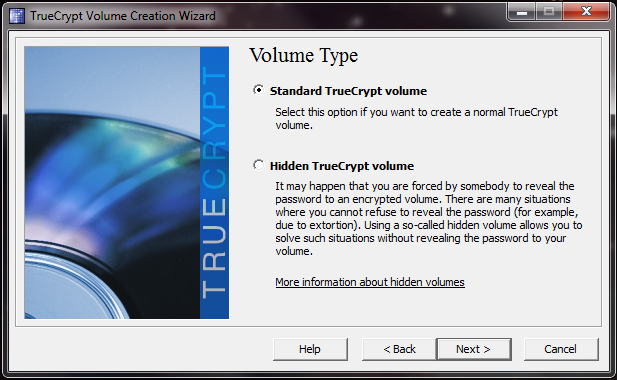
The Hidden TrueCrypt volume allows a user to create files that contain both files you wish to hide, as well as files you wish to use as bait if someone should happen to determine your password, or you are forced to give up your password. For more information, check out the Hak5 video podcast on the subject.
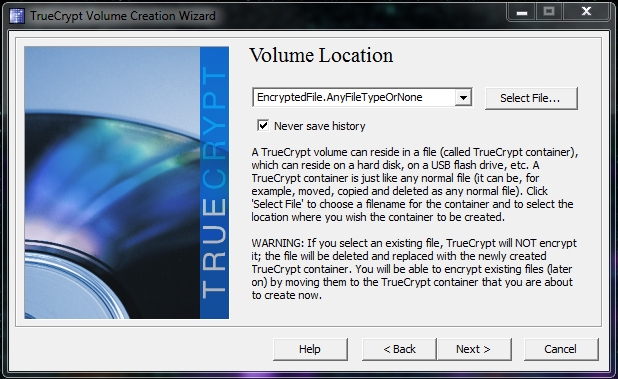
You can save your encrypted file anywhere you choose, be it a removable hard disk, or just on your desktop.
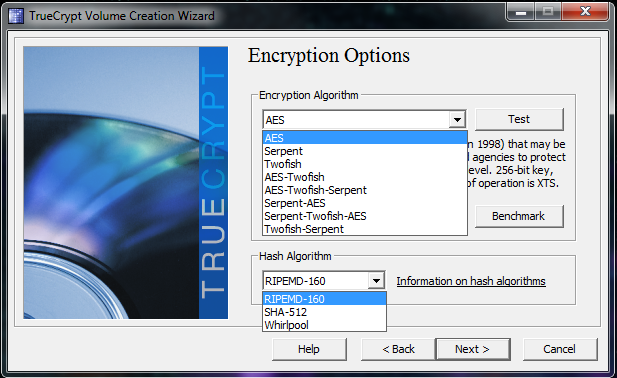
You can choose any of the encryption algorithms and hash algorithms, though I would recommend using the Benchmark feature to determine if what you want is fast enough for your purposes. If you intend on encrypting an entire partition for regular use, I would recommend something that does not take as much time to decrypt. If you are looking for a longer term storage, go with a 3-stage encryption. Use the information links built in the program for more information.
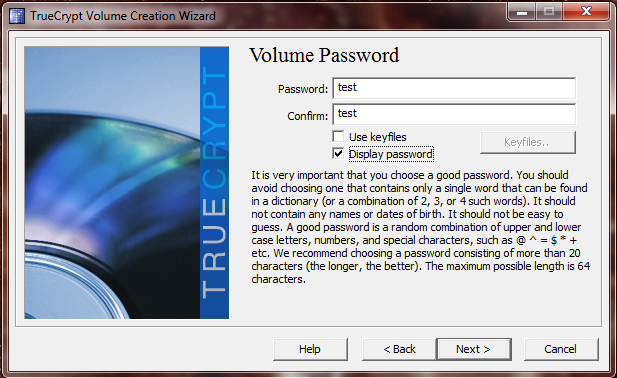
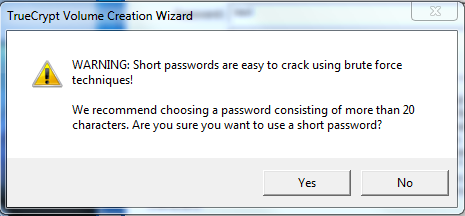
Use any password you wish, though the program will ask you to verify that you wish to use a low strength password.
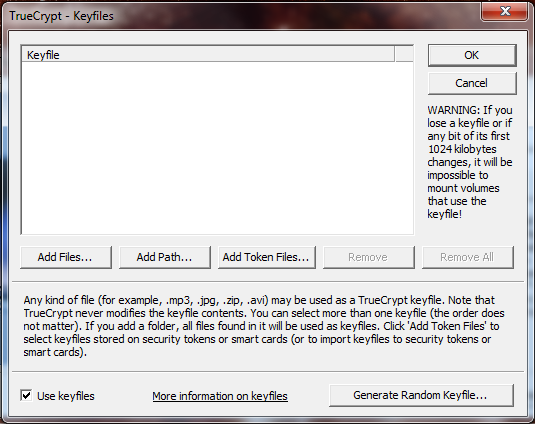
For information about keyfiles (something else required along with a password for the file to be accessed), check the Hak5 video I mentioned earlier in the post.
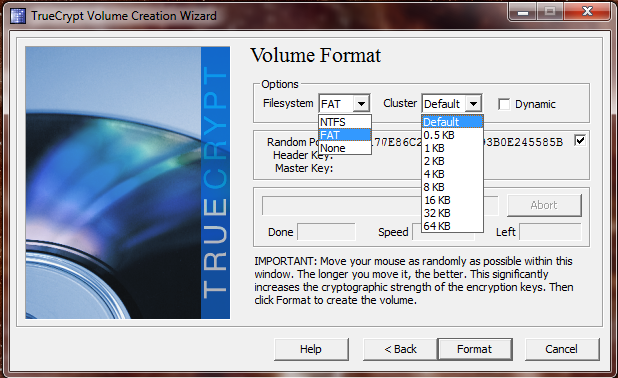
Choose a file system, or allow the program to determine one for you. If you intend on a file system for multiple operating systems, choose FAT. If you’re going to be staying on Windows and intend on having files over 4gb in size, you’ll need to use NTFS.
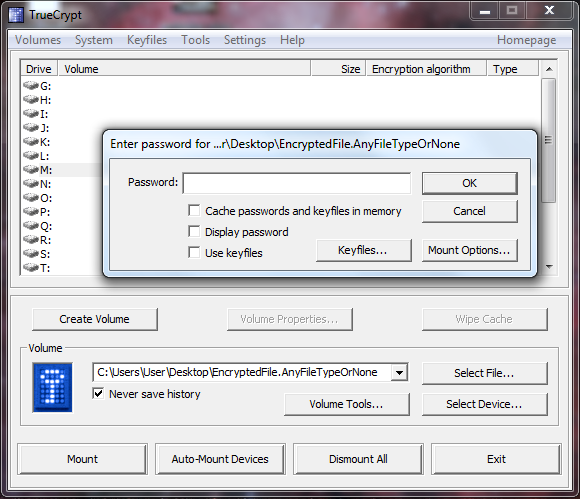
Select any drive letter not currently in use before finding your file. Selecting a drive letter further down in the alphabet will prevent against potential problems with other devices attached to your computer. Just enter your password, and locate keyfiles if necessary to mount your encrypted file.
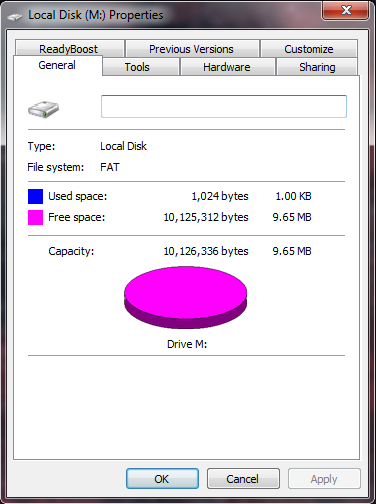
Your mounted file will look exactly like a removable disk, and technically it is. When you’re done, dismount the volume from within the TrueCrypt program. I would also recommend going into the settings and allowing the program to dismount if no data is read/written for a set period of time.
For those who don’t want to use a complex technique, another type of hiding files exists. Steganography is a technique that hides messages (or in our case, data) in a way that no one apart from the sender and someone who is looking for the message can find. In our case, we’ll be combining simple rar and a jpeg file.
The steps are as follows – Zip / Rar any files you wish, and store them in a simple folder, such as C:\A. Take any jpeg, or gif and place it in the same folder (C:\A). In a command prompt window (Launch cmd.exe from Run, or if you’re on Vista / Windows 7, type cmd.exe in the search function in the Start Menu), type cd C:\foldername, and then press enter. Type the following command “ copy /b image.jpg + hide.rar newimagename.jpg “ where hide.rar is your to-be-hidden rar file, image.jpg is the picture you’ll be hiding the rar in, and newimagename.jpg is the aptly named new image with rar inside of it. This technique can be used with .zip as well, depending on your preferences.
The beauty of this technique is that you can open the picture in your choice of viewer, and it will look exactly as it did pre-combining. However, if you open it with an archive program such as 7-Zip, WinRAR, or WinZip, it will open the rar/zip.
If you want to be really crafty, try combining both encryption and Steganography to really conceal any data.

Here’s a quick image to verify your skills..
You can message me on Runewire, Twitter, or the Forums if you have any questions, or suggestions for future articles.
Twitter – Microblogging for everyone
posted by Pfkninenines on 24th June 2009, at 4:04pm | 2 Comments« Previous Page — Next Page »


