

WARNING: Downloading and installing OSx86 on your computer is ILLEGAL. Use at your OWN RISK.
![]()
OSx86 is a version of Apple’s Tiger operating system which has been modified to run on Intel ‘x86’ machines. So instead of buying a Mac, you can download OSx86 and run it free!
To install OSx86 you will need the following:
An SSE3 processor (SSE2 is good but provides less stability)
An Intel motherboard (Although it can be installed for AMD Boards)
A decent graphics card (MacVidia drivers are available for most nVidia cards)
512mb RAM
20gb IDE Hard-Drive
DVD-Reader/Writer
To find out if you have an SSE3 processor please check with CPU-Z.
Getting OSx86
To get OSx86 you will need Torrent software (Azureus: http://azureus.sourceforge.net/) and, of course, the Torrent. Right now you can get from 10.4.1 to 10.4.8. Places to check would be TPB and The Green Demon ;). For this I am using 10.4.1 because it was the smallest to download. Unfortunately this download was compressed into a DMG file. To uncompress this I suggest you use UltraISO (http://www.ezbsystems.com/ultraiso/) and convert it to an ISO file. This should take around 5-10 minutes.
Making your OSx86 Install DVD
OSx86 is best installed onto a DVD-R instead of DVD-RW or DVD-RAM. In burning it you may require a patch to make sure it boots. If you want a patch for Marklar-Tiger.iso please look up Generic_OSx86_Install_DVD_Patcher_Release1.rar. Others may come prepatched.
Installing OSx86
Now we can finally install OSx86. Back-Up ALL Data on your machine and insert the DVD you burned.
Reboot your computer and press F12 or Del to go into the boot menu. It will say IDE CD-Drive or something similar, so boot into that.
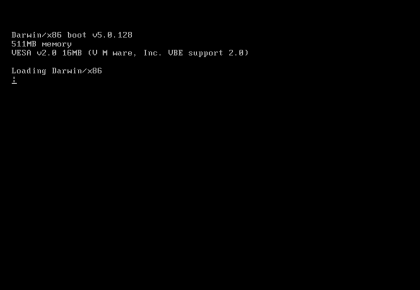
Soon you will see the Darwin boot screen. If all goes well you should be asked to boot into the install DVD.
The Apple boot screen will start up with that little circle thing. If it doesn’t boot in an hour or so, then you’ve got a problem. It has booted into installer and now we are ready to begin.
Go into Disk Utility and Format the drive to Mac OS Extended (journaled).
Then go back into the installer and hit next.
Agree to the License agreement and let’s go.
Choose the drive and hit next.
Select Customize, untick the unnecessary printer drivers, XCode tools, and make sure it has SSE3 selected.
Now we see the installation Verifier. This checks the DVD for errors. If you want to check it, check it, but if you don’t, hit skip.
Now all we need to do is wait for install and make sure there are no errors (especially with SSE2). Has it installed? Faster than Windows anyway.

Final Steps
Now that it has installed remove the DVD and keep it in a safe place (for reinstallation or using pacifist with it).
Boot up and we have Dawin asking us to boot into what drive.
Select ‘Hackintosh HD’ or whatever you named your drive.
As of now, we have our questionnaire. Input everything required but try not to register your copy online.
Now we are ready to roll on OSx86. If you want to update it, you unfortunately can’t try it for yourself. All firmware upgrades have to be patched so look out for JaS 10.4.8 or something.
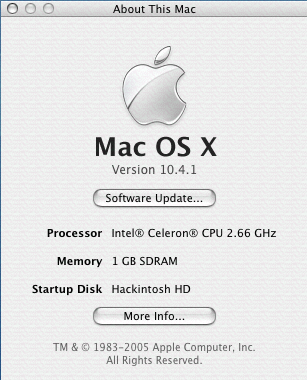
XBench
Please try to get XBench to test your new install against standard Macs. You can get it here: http://www.xbench.com/
If you have problems running some apps you’ve downloaded (XBench, for example) then click right and select open into Rosetta (PPC programs to Intel) and it should load.
MacVidia
Like on any Windows PC, you’ll have to get graphic drivers and because OSx86 is not Windows we need different drivers. With support for Dual-Screen monitors coming in slowly MacVidia is going to be an ideal choice for your nVidia drivers.
MacVidia: http://macvidia.starchaser.org/
For any extra help, you can try the site at www.insanelymac.com.
« Previous Page
Tags
 Search