Guest Article: Diving Deep Into NXT Graphics Settings
posted by Shane on 26th April 2016, at 2:56pmWritten in the most soothing voice of Cireon. Cireon is high councillor and leader of Clan Quest.
With the NXT client we have gotten a large range of settings to make our game even more beautiful. While Jagex has explained some of the magic behind making things pretty in their dev blogs, most people probably still have no idea what most of the settings mean. In this article I will take you on a deep dive through the magic (while “magic” is totally an accepted technical term, it is most commonly known as shader programming) that makes RuneScape players drool all around the world.
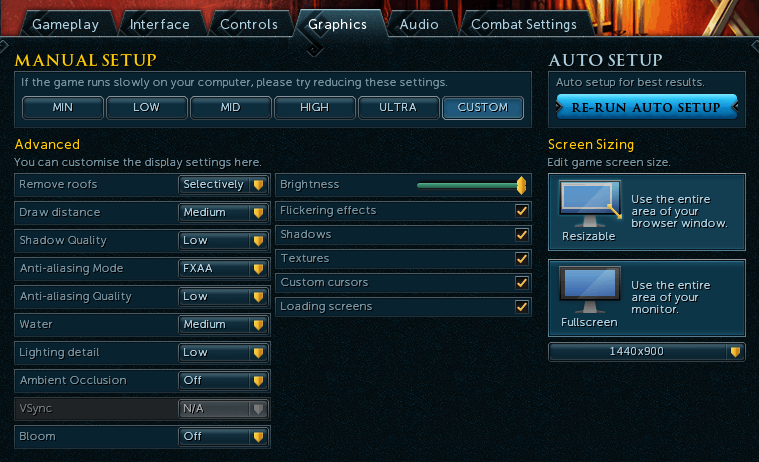
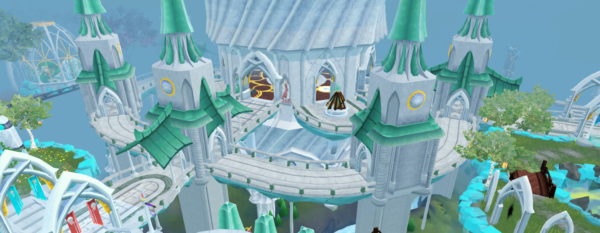
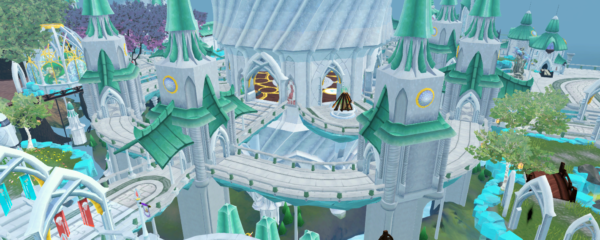
Yes, I am afraid these are the highest settings my laptop can manage.
The Basics
Let’s start with the basics, shall we? All objects in the game consist of small triangles. To show a coherent images, each of these triangles is processed individually by a graphics pipeline. To prevent going into technical details, we will limit ourselves to a high level overview:
The 3D coordinates of the triangle are sent to the graphics card. The first step consists of converting those 3D coordinates into 2D screen coordinates. We first have to find out where the point actually is relative to the camera and then flatten it. It’s just like making a picture with your phone: your camera is in a certain position pointing in a certain direction in three-dimensional space. When you tap the button, you get an impression of what the phone “saw” based on where the objects in the picture were with relation to the camera. Moving the camera will change where objects appear on the picture, even if the objects themselves remain static.
After mapping all the triangle corners to the screen, the graphics card finds out what pixels on the screen contain the triangle. This step is called rasterization.
Finally we come to the interesting part: for each of the pixels that the graphics card has determined to be part of the triangle, we execute a piece of code called the fragment shader or pixel shader. The sole purpose of this code is to determine the colour the pixel in the final image. In the simplest variant, it uses some simple vector math to calculate how well-lit the object is from a light source, but many interesting things can be done to come to amazing results.
Now you may be wondering why we went through the effort of discussing this pipeline. It turns out that the vast majority of the graphics settings are related to this pipeline. Changing the settings may make the pipeline be executed multiple times, or certain steps more expensive. With this basic knowledge, we can actually get a pretty good idea how the settings influence your graphics rendering pipeline.
Draw distance
The visual effects of this setting are pretty clear. The higher you set it, the further you can look. The consequences on your performance do not require a lot of imagination to figure out either. The further you can look, the more objects are visible. Not only does this blow up the amount of triangles that have to be rendered, it also means more of your surroundings have to be (down)loaded and kept in memory, which means that not only will your framerate go down, but your memory and bandwidth usage will go up as well!
Medium Draw Distance
Ultra Draw Distance
Shadows
It is pretty straightforward what shadows do, but maybe the quality dropdown is a bit less clear. Admittedly, the visual differences are not very clear, but maybe the following images make it clearer:
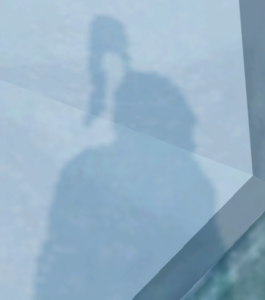
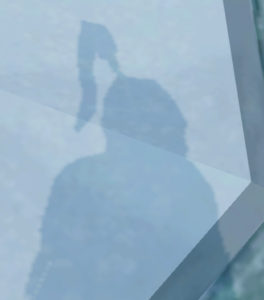
Left: Shadows on low setting; right: shadows on ultra setting.
If you don’t have a monster pc, you may have noticed that shadows – even on the lowest setting – cause quite a framerate hit if you enable them. This can be explained easily by looking at how shadows are generally implemented.
Shadows appear in places where the light can’t come. To figure out where to render shadows, we have to find out where the light shines. We can do this by replacing the light by a camera and rendering the scene from there. The image we render will contain all the points the light can “see”. We can then use this information to show the points the light doesn’t “see” as darker.
So does that mean that by enabling shadows we are basically asking the game to do twice the work to render every frame? Not really. We are not going to look at both images, so we don’t have to do all the work of determining the right colours for the pixels. Also, we can save ourselves a lot of work by not rendering the so-called shadow map at full resolution. This is where the blockiness of the shadows comes from.
Then what does the shadow detail setting do? If you increase the shadow detail, the shadow map will be rendered at a higher resolution. This results in sharper shadows (see images above), but also makes calculating the shadow map more expensive. Another effect is that the lower the shadow detail level, the smaller the area around your character for which shadows are calculated and displayed.
Anti-aliasing
Remember how we talked about the graphics card deciding whether a pixel is occupied by an object or not? This has a bit of an annoying by-effect: aliasing. Try finding a piece of grid paper (or draw a grid yourself) and fill in some the squares to make a triangle or a circle. Just like in Minecraft, you cannot make a perfect circle with squares, and yet small squares are all what you have available on a computer screen.
Now retry drawing that triangle or circle, but allow yourself to use different shades of gray. It may take some practice, but you will see you can achieve better results.
Anti-aliasing builds on this concept: it does not make a binary decision whether an object is occupying a pixel or not, but allows an object to partly occupy a pixel and blends the colours based on that.
The two most common approaches are FXAA (fast approximation anti-aliasing) and MSAA (multi-sampling anti-aliasing). Their names are pretty descriptive: fast approximation uses some math to approximate how much the object occupies the pixel. Multi-sampling on the other hands divides the pixel in smaller subpixels, for each subpixel the graphics card makes the same binary decision as before, and these results averaged give the final result for a pixel. It is obvious that multi-sampling makes the rasterizer a lot slower due to it doing multiple times the work (my guess is that it is 2x, 4x, 8x, or 16x depending on the AA quality).
We can of course do both the multi-sample thing, and use the fast approximation algorithm for each subpixel. This is possible in NXT, but it works so well, that your game will probably look a bit blurry overall.
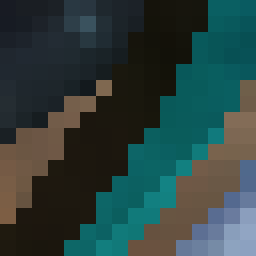
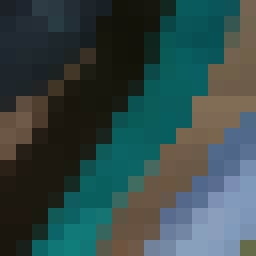
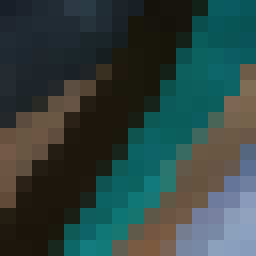
Left: anti-aliasing disabled; middle: FXAA (low); right: FXAA (ultra). Since MSAA is not supported on OSX, no images of that have been included.
Water
Water is a weird thing. It is transparent, yet you can’t see through it. It also reflects things. This means that to get the right result, a combination of techniques is used. This also means that the selector for water quality is a bit different as well. Instead of turning up the quality of the technique, it rather enables and disables different rendering techniques.
At the lowest quality, you will see that water is just a boring blue blob that is somewhat transparent. On medium quality water already looks a lot better, and at a relatively low performance cost. A very smart texture is added to the water that makes it look like actual water. Don’t be mistaken, the water is still completely flat, even though the illusion is created that it isn’t. (Alternatively they could be using a normal map here. This means that we fake the direction of a surface normal for the purposes of light calculation. I think the water is just a smart texture, but a normal map is definitely used in the high and ultra settings. If this all sounds like technical jibber-jabber to you, don’t worry about it.)
High and ultra quality introduce reflections, and this is where the performance really starts counting. If you look in a mirror, you will see things exactly as you would have seen it through a transparent window if your eyes were on the opposite site of the mirror in the same place (except not mirrored). This is also how it works for graphics rendering. If we place the camera directly on the other side of the mirror (in this case the water) and render the scene, we can use that information to fill in the water.
You guessed it, this means we have to do double the work. In this case we will actually see the reflection, so we can’t apply a lot of the tricks that make shadow maps relatively easy to render. This is why you will see a large hit to your performance when switching to high or ultra water quality. It is difficult to see the difference between high and ultra quality, but my personal guess is that the reflection is rendered at a lower quality in the high quality. (The distortions in the water reflection come from a normal map. See the note above.)
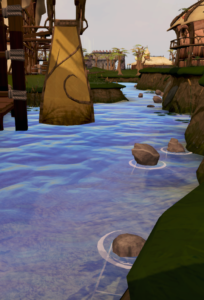
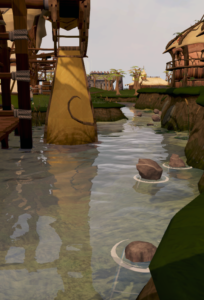
Left: medium quality water; right: ultra quality water.
Lighting
The lighting setting has me confused a bit. I find it difficult to distinguish large differences between the graphics settings. The only clear difference I noticed is that the low quality lacks highlights on shiny materials. This is especially visible on water.
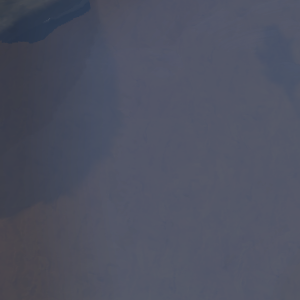
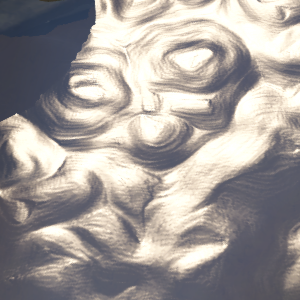
Left: low lighting quality; right: medium lighting quality.
The only thing I can do here is speculate. It is nearly impossible to draw a scene completely photorealistic in real-time. The mathematics behind the physics of real light are too difficult to solve sixty times (or even once) per second. Over the periods of many years, games have become pretty good at approximating the physics using easier functions. The simplest approximations can be calculated on a single pocket machine, but more advanced approximations still require a bit of maths to get right. I can only assume that the higher the lighting quality, the more complicated the approximation and the more realistic the lighting effects.
Personally I have not witnessed any significant differences by setting the lighting quality higher than medium, but don’t hesitate to share if you found something that actually looks different!
Ambient occlusion
As said before, rendering a physically correct image is really difficult, so we have to approximate. While approximating direct lighting is quite doable, in the real world light bounces around several times, creating subtleties in the lighting that are quite recognisable. One of the effects you are probably familiar with is that inset corners are often darker than their surroundings; this effect is called ambient occlusion. The lighting approximations used in shaders for games do not take into account the geometry of the scene, so these effects get lost.
For a long time it was through impossible to get this effect working in games. The first game to successfully apply ambient occlusion in a game was Crysis (2007). Instead of calculating the actual occlusion that would occur, they would do a second pass over the image and calculate for each point an approximation of how occluded it was. While not entirely accurate, it still gave very credible effects.
Because this effect is only done afterwards, it is called a post-processing effect, and happens in screen space, hence the name screen space ambient occlusion (SSAO). On a high level the algorithm works as follows: while rendering the scene, we keep track of the geometry of what we draw. Then during the SSAO pass, we randomly look at a number of points (in 3D space) around the pixel we currently render. If they end up being inside an object, we make the pixel darker.
If you tried enabled ambient occlusion, you will probably have noticed that this has a huge impact on performance. Where does this come from? First of all, we are doing extra work for every pixel on the screen. Not only do we use the information for that pixel, we also have to check the geometry around the pixel, which adds to our effort as well. The results from this effect would look very noisy due to the random factor. That is why we have to blur the results. Blurring is done by averaging the colours of several pixel, so this again means we have to look up multiple things for a single pixel. All in all this comes down to a very performance-heavy effect, but it gives scenes a whole lot more depth.
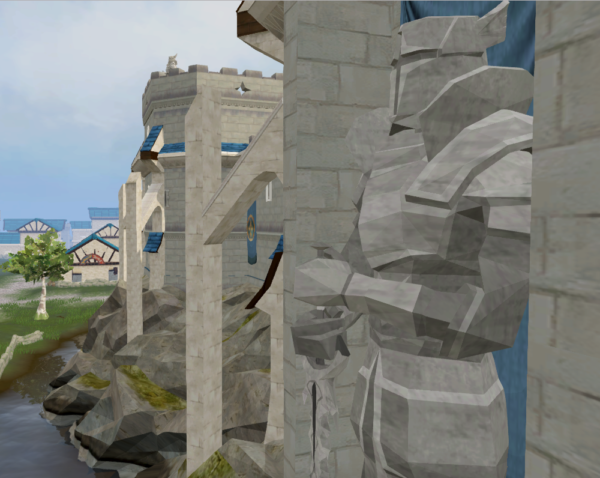
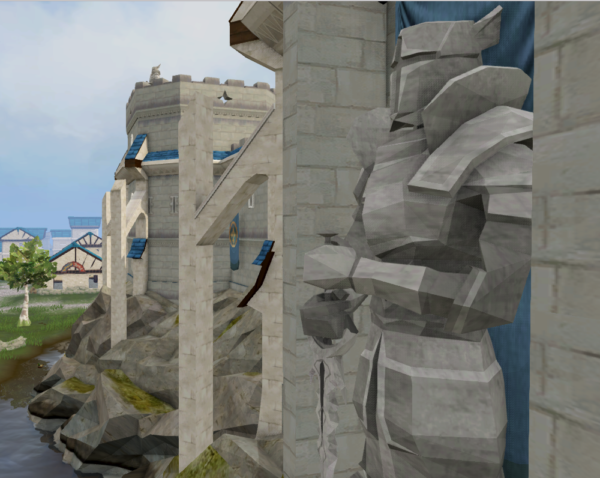
Ambient occlusion disabled
HBAO enabled. Note how the inset areas of the statue look darker, and how you can see the edges in the wall more clearly.
In addition to SSAO, NXT also has support for hybrid ambient occlusion (HBAO). This technique requires ever more effort, but results in a more rigorous effect. For details on this technique, I can only refer to this scientific paper.
VSync
Vsync is short for vertical synchronisation. It has relatively little to do with the quality of your rendering, and should be left untouched if you are not encountering any problems. VSync is a mechanic that prevents screen tearing: your monitor refreshes its image row by row. This is visible if you point a photo camera to a computer or tv screen, where you will notice vertical lines crossing through the screen. When your graphics card has rendered a new frame, it will tell the monitor to start drawing from that instead of the previous frame. If the monitor at that point is still busy refreshing, there will be an artefact where the image was switched. VSync forbids the graphics card from altering the memory of the monitor while refreshing is going on, so that you will always say a complete image. This artificially shows down your graphics card though, and may have a slight impact on your FPS.
Bloom
In my personal rulebook there is one clear rule regarding bloom: there can never be enough of it. Bloom has an effect that is very simple to explain: it makes bright things glow. It is not only simple to explain the effects, it is also not all that easy to implement!
When rendering an image, we can cut out the brightest parts of the image. We then apply a blur effect over these parts, and paste the result right back on top of the original image. This will make the centers of the objects brighter, but will also smudge out the bright parts of the scene, which has the appearance of a glow.
There is still a bit of performance here. As described before, blurring takes a bit of effort since we have to look at the surrounding pixels as well to determine the colour of a specific pixel. There are some tricks that make it faster, but there is still some effort involved.
Still, NXT’s implementation seems to be quite nice on performance, and I highly recommend enabling it at least on the lowest setting, since it adds a lot of atmosphere to the game, especially in the darker areas.
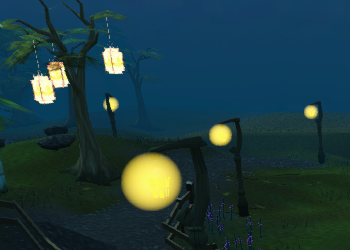
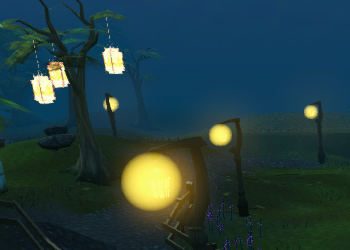
Left: bloom disabled; right: bloom enabled.
Small note of the author: the effect becomes more apparent the higher you set the bloom quality (but also more expensive). The bloom effect will also be less visible if you have your brightness turned up high.
Textures
Despite being most definitely a graphics effect, it actually has surprisingly little effect on your framerate. The main reason for disabling textures would be the lack of memory. Textures on objects are in fact just images that are applied to objects. These images have to be accessed every frame, so they are often kept in the application memory or – if possible – in the memory of your graphics card. To keep these images small, they often have a relatively low resolution (blocky textures in RS therefore have nothing to do with the performance of your machine). Every computer that is not ancient should have no need of disabling this, especially considering the relatively low quality of textures in Runescape.
Many games offer their textures at different qualities. They include textures at different qualities, and depending on the amount of memory available you can pick the quality of your textures. Currently Runescape has very bad textures, but I hope that they will start producing high quality textures and include a texture quality setting in the future. Whether this is feasible considering the additional strain on bandwidth is the question though.
Finally
Full disclaimer: I have no idea what I am talking about. That is, all the information from this article comes from playing with the graphics settings and taking my knowledge as game programmer to speculate on the most likely way things work on Jagex’s side. I hope that the technical background will help you with picking the right graphics setting for your game, or at least that you found it educational. In general I recommend taking the auto-setup settings as a base, since they are quite accurate. In the end every device is unique and you may have to fiddle with the settings until you get a compromise between graphics quality and performance you are happy with.


