Alex’s Analysis – Summer’s End
posted by Alex 43 on 19th September 2008, at 7:04pm| JAGEX’S GIBBERISH |
Those who have completed Spirit of Summer will know that their work is half done. The Spirit Beast has begun to tear through the fabric of reality and threatens to lay waste to RuneScape. Summer and her family can’t stop it alone, so you’re needed to confront this powerful enemy.
Brave warriors who are courageous (or foolhardy) enough to take on such a challenge will be required to venture once more into the Wilderness, crossing into the Spirit Beast’s realm. Here, you’ll be the main thrust of a devastating attack on the beast. If you hope to survive, you’ll need the Amulet of Ghostspeak, help from the spirit family, and plenty of food and run energy …
Summary
Where to start the Summer’s End quest:
Talk to Summer in the farm ruins, north-west of the Clan Wars challenge hall.
Requirements to complete the Summer’s End quest:
Level 23 Summoning
Level 23 Woodcutting
Level 35 Hunter
Level 45 Mining
Level 47 Firemaking
Level 55 Prayer
Spirit of Summer
The ability to evade the blows of a level 700+ beast
A fairly high Hitpoints level and a higher Woodcutting level are an advantage
Access to:
Some interesting new equipment
| ALEX 43’S QUEST GUIDE |
You start off at the same place you start Spirit of Summer – at the abandoned farm to the north-east (not west, Jagex …) of Bounty Hunter. Meeting a revenant on the way is rare over such a short distance, so don’t worry about over-preparing yourself against them. Summer will be waiting there, and before you can ask what happened, she’ll tell you to follow her.
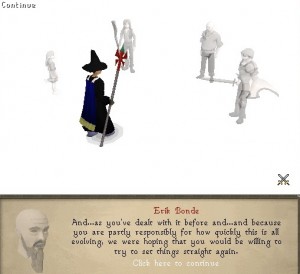
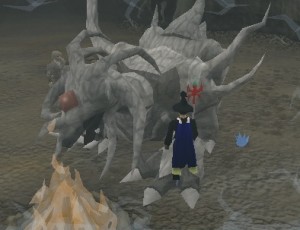
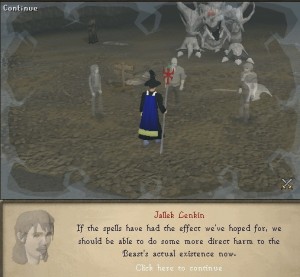
Welcome to white-land. Population unknown. This is what happens if there’s light without darkness; you can’t see anything. Well, you can see the 3 elders and Summer, but that doesn’t really count.
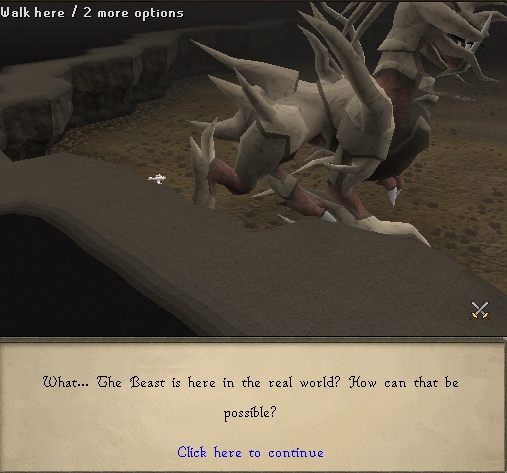
You will demand an explanation. They will respond. Because you intervened and got the Beast all riled up, she’s (Dex told me it was female, and I didn’t question it; I will refer to it as an ‘it’ for the rest of this article for morality reasons) been tearing through dimensions in order to get to the real world. Understand that if it does, you’ll have to deal with a Beast that can swallow Tz-Tok Jad, the King Black, and the Kalphite Queen whole in a 2-course meal. Through the cruel twist of fate that must be so, you are charged with having to help the Spirits slay this monstrosity.
Fortunately, they have a plan. After studying it for centuries (as if they had anything better to do with their time), they devised a way to lure it, de-armor it, weaken it, and slay it once and for all. But they need YOUR help to do it! Are you in? Or are you boring? Take your pick.
If you are in, then run to your bank at Bounty Hunter and prepare a hatchet, a tinderbox, a pickaxe, a spade, energy potions (or a spirit terrorbird), and lots and lots and LOTS of food. Trust me when I say lots, because I mean LOTS. When have I not meant LOTS when I said LOTS before?
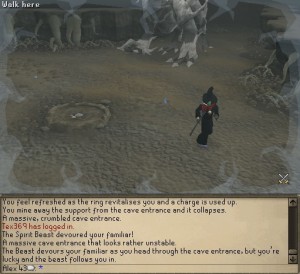
To start, you need to lure the Beast into the cave to the north. Unfortunately, the cave itself is collapsed. However, do remember what you do in the real world affects what you do in the spiritual world. Jagex implemented this as a bit of a test to see if you remembered this simple, but useful fact before you actually get into it in order to remind you of the previous quest and what you had done during it. Collapse the cave in the real world, and then head down to the spiritual world to begin.
To get the Beast to follow you, you need to lure it with a summon. However, since it’s been scarred for life from the 3 summons you hit it with already, it will only be attracted to a summon that takes BLUE charms to summon. However, unlike last time, you don’t actually want to lose it. What you do is have it following you, make the Beast start targetting you, and once it starts heading towards you (don’t let it touch your familiar, or you’ll need to summon another), walk (don’t run, you might lose its interest) right into the cave. So long as you enter with it actually following you, the Beast will automatically eat your familiar, but be trapped in the cave.
For the record, I used Karamthulu Overlords, since I had so many due to excessive training.
Once the luring’s done, the dangerous part begins. Throughout the caves, you will go through a 3-step process to finish the creature off once and for all. Please do note that the entire time you are performing these tasks, the Beast will be shooting at you. When it shoots, it targets the SQUARE that you’re standing on, NOT you in general. Once the bolt hits (hits the 3×3 area around the square), it splits into multiple bolts that fly in the general vicinity (also impacts a 3×3 area wherever they hit). If you’re in that area when it impacts, you take heave damage. In a nutshell, you want to do a lot, and I mean A LOT OF RUNNING!
Not to worry. After dancing with the Beast a bit (much to Dex’s amusement), I learned its attack patterns and methods. Read on, I won’t spoil anything. I’ll tell you when I continue with the quest:
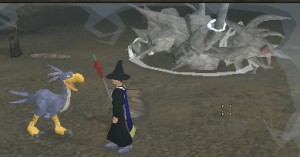
So, despite facing off against a level 752 monster, leave your armor behind and travel light. Boots of lightness and a spottier cape will help. You will also need either super energy potions, strange fruit, sweets, or some sort of energy-restoring familiar. My trusty Spirit Terrorbird saw me through, and since the Beast is focusing on attacking you, you don’t have to worry about losing the summon.
Be very very careful, though. Even if you run the whole time, I can guarantee you will get hit sooner or later, and it’s capable of dealing damage in the 10’s with the smaller bolts. A direct hit with the larger bolt will easily hit a 25, and if you try to run once you take the hit, you also stand the chance of getting peppered with the smaller bolts. So if you’re absolutely must take a hit, try to let the big bolt hit and focus on running from the smaller ones when they appear rather then running blindly.
To counter these attacks, you run. Prayer will NOT work, so don’t experiment. You will see the screen shake and hear a sound to signal when the Beast attacks. When that happens, the square it attacks is set, so that’s the moment you run. When you damage the Beast, not only will it attack more frequently, but the smaller bolts will cover a larger radius. When you’ve dealt your second blow, it becomes downright deadly, as it attacks almost every 5th second and you need to cover at least 6 squares of distance to avoid damage.
Lastly, the creature doesn’t melee. You can run anywhere you want to, you’re just as safe hugging the wall than you are giving it a dutch-rub with a sandpaper glove. It’s just you can see the attack coming more when you’re farther away. It also doesn’t heal – once you deal a blow, it will NOT heal.
Now that you’re warned, proceed into the depths of the cave and get ready for the greatest Boss attack Jagex ever made.
[Now come the spoilers. You know what to watch out for, so I suggest you leave the rest to experience. If you like spoilers, though, then carry on.]
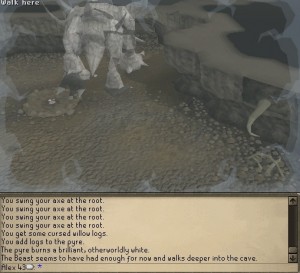
You first step will be to take down the Beast’s armor. Since no weapon of yours will be able to do it, you must rely on the elder soldier for that task. However, in order to get close, the Beast must first be stunned. To do this, you must use the cursed logs on a large pyre and burn them to trick the Beast into thinking it’s a spirit and it will recoil from the fact it tries to consume something that wasn’t there.
5 logs chopped from the surrounding roots placed on any one patch and lit will do this. You must do this 3 times to break the Beast’s breast-plate.
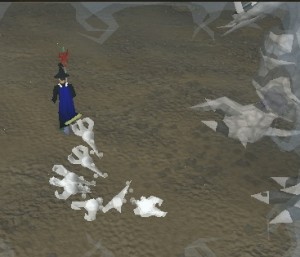
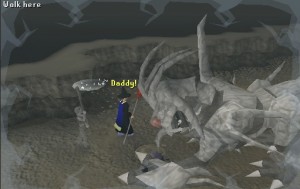
Once you start, it’s quite easy. Run at a root and start chopping, and once you see the camera shake (or, if your computer’s a bit choppy, turn your sound on), simply run and chop another root elsewhere. To show what I mean, I would jump between these two roots here when I saw the ground shake:
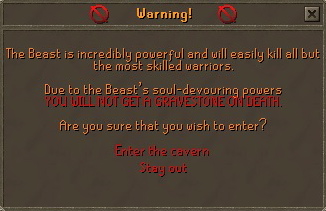
Don’t worry about entering the cave. Once you enter, you will immediately engage in conversation with a spirit; you will only fight the Beast when you specify you are ready to do it. If you say no, you’re teleported back outside the cavern so you may prepare.
Now, be warned. After you succeed in lighting a fire, the Beast will start shooting faster and more wide-spread. My advice for you is that you set up 3 fully-functional pyres (use 15 logs on 3 pyres) BEFORE you start lighting them, because if you leave, the pyres are reset, but the Beast isn’t. If you have to collect 5 log while the Beast is in a pinch … well, good luck, because it took me a few tries, lots of close-calls, a ring of life, and a dragon hatchet.
When the pyre logs are ready, there’s no auto-click. You actually have to use a tinderbox on it. While the cinema plays, you’re STILL IN CONTROL OF YOUR CHARACTER. Run to a good position and prepare to heal if necessary.
After you hit it 3 times with the flame, the breast plate will break and it will travel to another cavern. Enter it to get the run-down by another spirit before you actually start fighting it.
This time, now that the breast plate is gone, the Dark Core it holds will release itself and engage you. To have at the Beast’s head, you need to lure this Dark Core when it jumps out (cute little 4-legged demon orb) into a hole you dig with a spade. When it falls in, watch and laugh.
This one is comparatively easier then the chopping. For a start, you only need a spade rather then a hatchet and tinderbox, which means you can carry more food. Also, the area’s bigger, so there’s lots more room to run. However, the Beast attacks the same, with the exception that its core jumps out at you. Once this happens (a message will show), run to the nearest obvious dirt patch, click on your spade when you’re next to it (just left-click and your character will automatically dig – no need to aim), and hold still. The core should automatically jump into the hole (idiot).
However, be warned. The Beast will still be shooting at you, and the more hits you make, the less often it shoots its core out. Not just that, but it gives chase to the core and takes it back in. Watch the core carefully because if the Beast catches it, it’ll return to shooting at you. Also, take note that once it exposes the core, the Beast WILL STOP SHOOTING AT YOU. Take advantage of that moment to heal if necessary.
During this, the Beast actually shoots much faster at you the more you get him. Sometimes it’ll even launch a barrage of spells. Just keep running and DO NOT STOP, because if you hold still, you stand an incredibly good chance of major damage and possibly dying. Try not to make turns greater then 45 degrees at a time.
After trapping the creature in the hole 3 times and watching it get blasted, it will proceed to the third and final cave. Restock on food and then follow it in.
This is it! The finale! All 3 elders are there, ready and waiting for you. The Beast is on its last legs and really wants you dead now, so it gets even more dangerous, as it’s a much tighter area to run. Also, you will consume prayer during this, so there will be a time you will need to distract yourself be recharging your prayer at the nearby altar (or you can use prayer potions, but that’s a complete waste of money if you ask me).
However, there are a number of changes in format compared to the previous two. For starts, the Beast takes longer to charge an attack. What’s more, its attacks are colored now. There’s no more collecting or digging, so you don’t need any tools anymore. Lastly, the Beast will no longer move around – it’ll stay right in the middle so you’ll know where the attack is coming from at all times.
The Spirit Elders will transform into balls of light in 3 different colors, and then jump into the graves. It can get annoying, because they are easily mistaken for the Beast’s attacks when they jump from grave to grave. When you see the Beast charge an attack, you want to click on the grave that the elder orb with the SAME COLOR is in. Should you fail, you get hurt and lose prayer points – not to mention you’d have to run from the attack itself.
This can get very annoying. You need to watch out for 4 things almost at once:
1: The positions of the 3 elder spirits (or rather, one at a time)
2: The color of the Beast’s attack.
3: Where the Beast attacks (despite the color change, it is still deadly)
4: Your own health.
BEWARE: The Beast’s attacks are now more lethal. Should you get caught up in its attack, it will very VERY easily kill you in 2 sets of shots. If you get into a danger-zone, run around hugging the wall, or even leave the cavern and heal yourself. You don’t lose any progress if you leave.
Focus on one color at a time. Run around the graves, wait for the jump, and lock in on one. Then wait for the Beast to charge an attack of the same color, and once you see it charge that ball of light, click the grave. A series of messages will inform you of your progress.
Once you succeed with the third one, quickly run to the middle to get a good view of the Beast’s final breath, as it doesn’t cut into a cinema state (unfortunately). It is over. You have won.
Now you can kill the Tz-Tok Jad! Just kidding. There’s no Saradomin altar and graves in there you can blast it with …
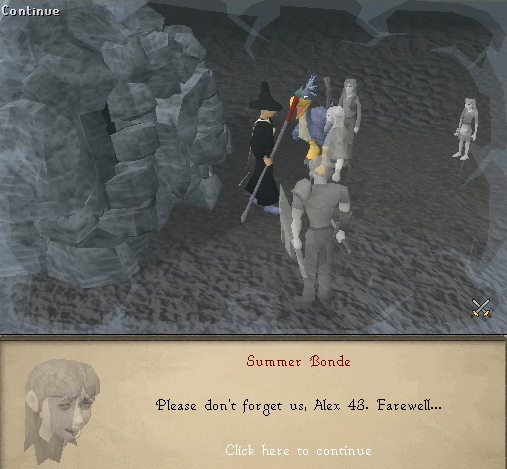
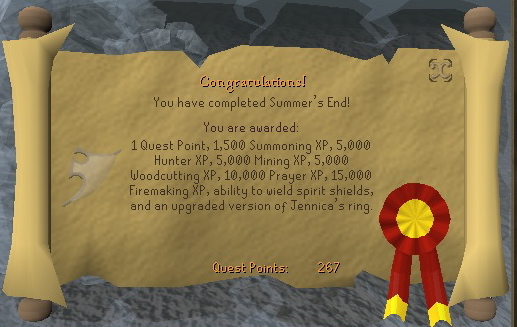
The four spirits will thank you, and in the most literal sense, die. You have finally granted them their eternal rest, and with that, they are thankful. So thankful, that Summer properly blesses Jenicca’s Ring to work on all portals (including invisible ones – try to find them!), and the elder soldier will hand over what I call the “Ghostly Shield” – something long overdue (It’s really called the Spirit Shield, by the way, and it looks awesome). He says that using a special elixir on it along with the blessings of Saradomin will allow you to attack a tabloid of some kind that will permanently give it special bonuses. However, what you put on you can’t take off, so choose wisely. As I am led to believe, you get these things from places in the wilderness. Revenants, for example.
With that, a farewell to the family, and a reunification to your quest-point cape and a heckuvalotta experience in nearly every hard-to-train skill!
| OH, AND BY THE WAY … |
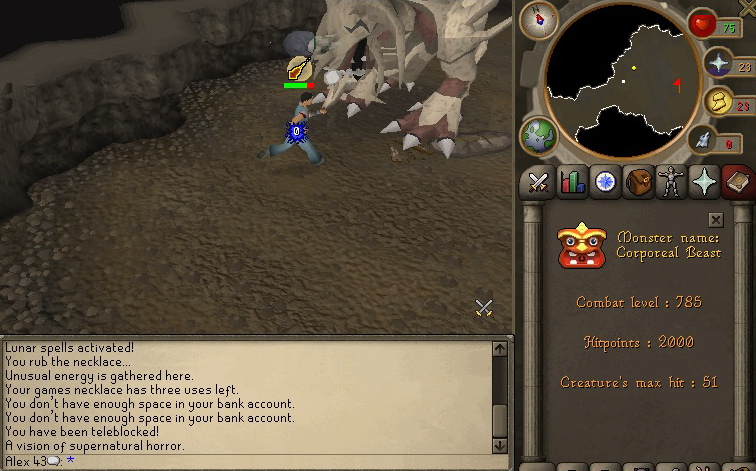
Oh, and did I mention that if you return to the cave in the real world, you can fight it for real? Meet the Corporeal Beast!
New clan event! New type of King Black Dragon! New God Wars dungeon boss! Except, he’s the most powerful of the bunch! As far as I can tell, it’s got a WHOPPING 2000 HITPOINTS and is level 758. You know what that means? 400 damage by a ruby bolt enchanted. 1600 ranging experience instantly. Run in, shoot, run out. Some attacks are dodgeable, like they were originally, but the ones that aren’t are almost guaranteed high-damage (don’t you DARE let it melee) and it drains prayer and summoning. I would recommend a giant clan and cannons if you’re thinking of taking it on. Oh, you can do it the cowards way, set up a cannon and let it fire, then run out of the cave and only re-enter to reload. Good luck with that if you try it.
But the question: why is it here? … well, I’m no theorist, but remember that what you do in one world affects what happens in the other, and because if its very solid state and tiny cavern halls, the Beast seems too trapped to cause any real threat to the world.
The rewards are sigils worth 50 million coins apiece. Each one can be attached to a Spirit Shield that is blessed (takes level 85 prayer to bless, and 90 to attach a sigil). There are 4 sigils, each with their own unique bonus to the shield:
– Arcane gives a +20 boost to your magic attack.
– Divine reduces 30% off your hitpoints when damage is taken, but in turn reduces your prayer by 15% provided you have 30% prayer to start.
– Elysian gives you a 70% chance of only taking 75% of the damage you are hit.
– Spectral gives a +30 boost to your magic defense.
An ancient mage will love the arcane shield, and any serious meleer should go for the Elysian. The others, I find, are more for defense/prayer-pures and should really be more-so avoided.
| ALEX’S ANALYSIS |
Well, Jagex finally completed a multi-part quest, much to my satisfaction. Can’t remember the last time they did something like that. One of the best Boss battles in my opinion; no back-and-forth hacking and hoping you’ll drain their hits before they drain yours attacking; you get to run around and take it down as though you were fighting something in a first-person action game. You don’t get that sort of element every day in an MMORPG as sophisticated as Runescape.
As is also liked, you get a progressive reward (some assembly required) as well as a bit of an after-quest seeking out these portals (jump right back into the portal immediately after for 5000 farming experience free) and discovering some interesting things (talk to that Spirit Monk in the level 13 Zamorak temple after you get that 5000 prayer experience, he’s crazy).
As far as the world knows, there are only 2 invisible portals in existance. The first one if as the Dark Knight (Not Black Knight) Castle, smack dab in the middle of the courtyard. Entering this realm will present you with a level 129 tormented spirit vowing revenge against the Black Knights, and the only way to fight it is to garb yourself in black armor and weapons (a black shield is required if you use a 1-handed weapon), knives counting. It has been confirmed this spirit drops the Holy Elixer and Spirit Shields, which makes it a very popular enemy to fight. However, there’s only one in each world, so the best of luck trying to find one you won’t get crashed by. Just entering the area, though, will yield you 10 000 defense experience should you have level 80+ to begin with.
The second invisible portal lies in the back yard of the Rogue’s Den nearby the Chaos Elemental in level 50+ wilderness. If you look inside the first floor of the building, you will see a talk-able rogue stuck inside a jail cell. Go into the back courtyard and seek out the broom leaning on the wall. Take one step east and operate your ring. If you enter the building and close both cell doors, return to reality, walk through the now-open cell doors, and have a chat with the talkable-rogue to earn a free high-alching service for unenchanted jewelry (the HAM store rooms are a good source). Additionally, the 3 chests upstairs can be looted and closed in alternate dimensions to the hearts content. You will get 10 000 experience just by entering the realm should you be level 60+ to start.
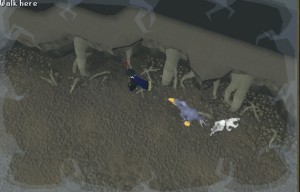
Oh, I also checked out that portal in those northeastern-most ruins (5000 smithing experience?!?) and was rewarded by a big case of nothingness save for this interesting symbol that appears in a number of places on the walls (looks a tad like the Fist of Guthix …):
The shield itself is just something else you can add to your set of ghostly robes. It is one of those “you can pick one but not the other” rewards that you have to decide what you would rather have more, and what would be more worthwhile. Not to mention you’d need a very high prayer level to actually utilize it (a familiar ‘brother’ will do it for you if you need).
Other then that, it’s just another way of making the wilderness more worthwhile and safer after Jagex “fixed” it, and heck, I like what they’ve done with the place! *Ducks flying bowling balls* Cheers!


