

Unetbootin – Install A Linux Distro On Your Thumb Drive
posted by Pfkninenines on 27th January 2009, at 3:00pmI’ve already done an article on how to easily try any Ubuntu release with the full performance of a partition, without any of the hassle, with Wubi. There is another program to check out if you’ve wanted to try out a popular Linux distribution without having to install it on your hard drive or in a virtual machine, Unetbootin.
Unetbootin allows users to preload either a Linux distribution or a utility on an external hardrive or thumb drive. This lets users quickly use a Live CD of a distro, and also allows the ability to install the distribution faster than via a CD. Unetbootin currently supports around 37 different distributions / utilities including the popular Ubuntu, Knoppix, gparted live, gOS, FreeBSD, and Linux Mint. The full list of supported and tried unsupported distributions / utilities can be found in their wiki.
To use Unetbootin (Linux and Windows only, unless you wish to compile it for Mac) simply download the program from their Sourceforge Page. The program does not need to install, so there’s no need to worry if you don’t have administrator privileges.
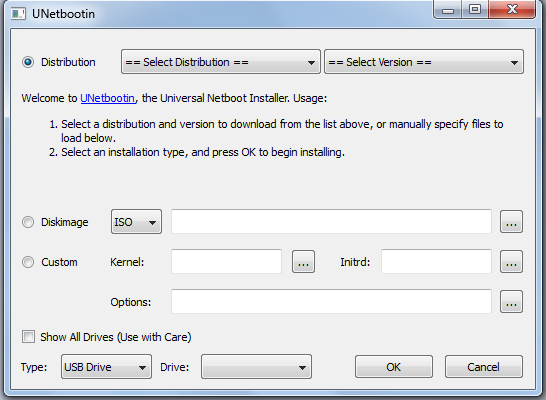
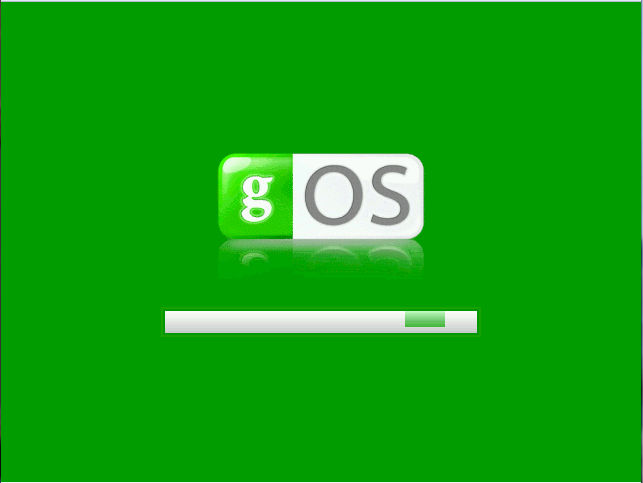
When you open the program, you’ll find this screen greeting you. For this article, I will be using a pre-downloaded gOS disk image and a 2GB USB thumb drive.
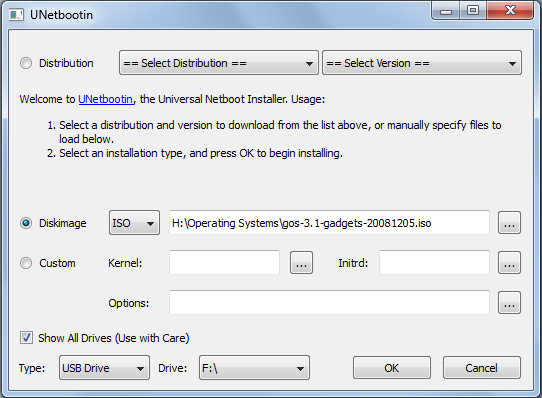
Select your settings, depending if you have your disk image handy or if you wish to download it from the official site through Unetbootin. You may also compile your own version, if you are adept at such activities. I chose to use the pre-downloaded gOS .iso I had on my external hard drive, as it is one of the working distributions that Unetbootin supports. Select the device you wish to install your image to, then press the OK button.
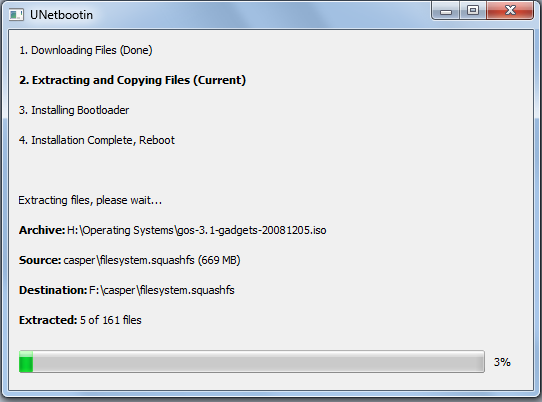
Unetbootin will begin to set up your device with your defined settings.
When you are finished, you will be prompted to either reboot or quit. If you wish to check out your work immediately, let it reboot. If not, you will be free to use the device you set up at a later time when it is more convenient.
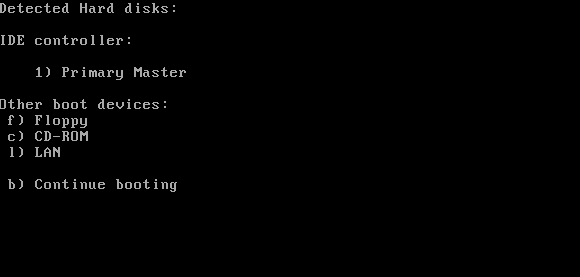
When you restart your computer, press the F12 key (Usually F12, but follow any directions your computer has to boot to a USB device). Select your device from the list. (Unfortunately for whatever reason, my VirtualBox Virtual Machine isn’t allowing me to choose a USB device. I’ve successfully booted from the drive while using my actual computer several times, so you’ll have to trust me that it works.)
Your operating system or utility should be loading at this point
You will soon see your operating system or utility booted to its usable working state.
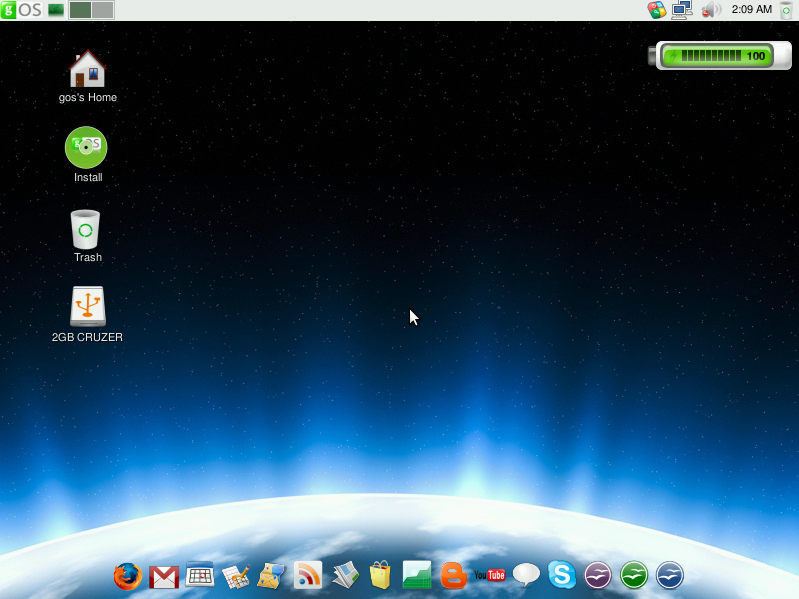
For my trial of gOS, I chose English as my language and selected the option to not change any settings on my computer. Quite quickly, the main screen for the operating system appears (or utility, depending on what you are testing) ready to do your tasks. From here you can install your OS (quite handy if you are on a netbook without an optical drive) or do whatever you need to do from whatever you booted.
Remember, if you would like to check Unetbootin out, visit their Sourceforge page to either download, view information, or compile your own version.
6 Comments
 Search
27th January 2009, at 6:34pm
I’ve been waiting for something like this to come along.
27th January 2009, at 8:16pm
This is far better than the over-sophisticated guides on other sites 🙂
28th January 2009, at 9:41am
Thanks for the supportive comments guys, and I’m glad you enjoyed the article 😀
4th February 2009, at 12:42pm
awesome guide!!!!!! almost done downloading the iso file =P
25th February 2009, at 3:56pm
hahahaha
13th April 2009, at 3:16pm
Thanks, I was never really sure how to do this and now I have the latest Ubuntu on my thumb drive =]